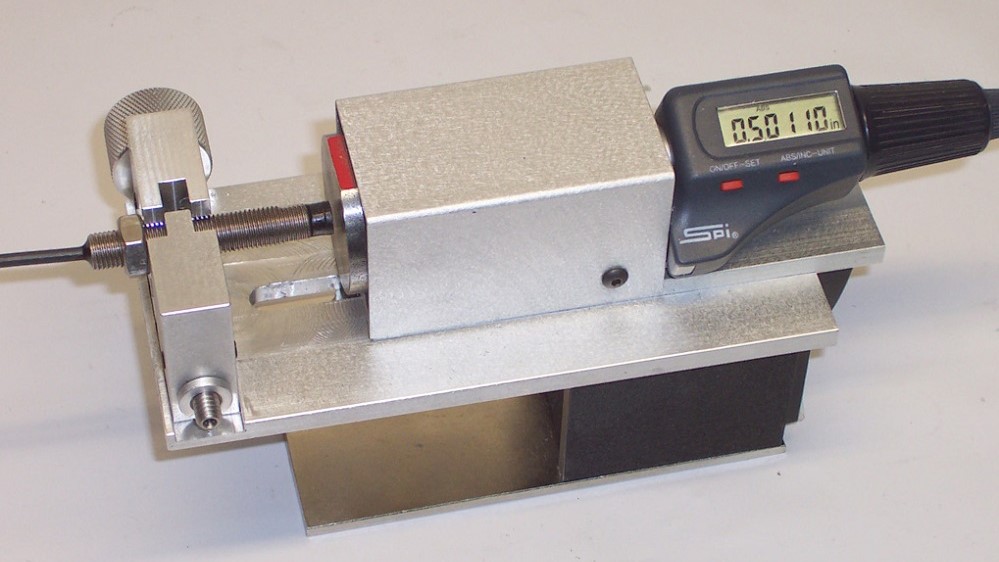
Mechanical runout refers to the parallel alignment between the surface of the eddy probe and the surface of the target material. Any deviation in that parallel alignment while doing the test will give an inaccurate reading.
How Mechanical Runout Works
During a static calibration test, the target material, when it is mounted on the shaft of the micrometer, rotates along with the micrometer shaft.
Mechanical Runout Can Affect Eddy Probe Measurements Substantially
Any deviation from that parallel state during the rotation of the micrometer (mechanical runout) will result in an incorrect reading for every five-millimeter incremental reading.
Gilchrist-Pearson Static Calibrators Prevent Potential Mechanical Runout
The Gilchrist-Pearson Static Calibrator eliminates the potential of mechanical runout. Instead of using a rotating target material, we use a non-rotating target material.

Our Static Calibrators Use Non-Rotating Target Material
Our non-rotating target material remains in constant parallel alignment with the surface of the eddy probe during the entire measurement process.